Setting Up Your Guitar: Action, Intonation, and Relief
Congratulations! You’ve built your electric guitar. The body is shaped, the neck is attached, the electronics are wired… now comes the crucial final step: the setup. A poorly set up guitar, no matter how beautifully built, will be a frustrating experience to play. This article will guide you through the basics of adjusting action, intonation, and neck relief – three critical elements of a playable guitar.
Understanding the Basics
Before we dive into the adjustments, let's understand what we're dealing with. These three elements are interconnected and affect how the guitar plays and sounds. Often, the initial feel of a newly built guitar isn't quite right, and adjustments are needed to bring it to its full potential. The process of building a guitar can introduce stresses and warps, influencing everything from the feel of the neck to the intonation.
- Action: This refers to the height of the strings above the fretboard. Lower action generally means easier playing, but too low can cause fret buzz. Higher action requires more force to fret notes.
- Intonation: This determines if the guitar plays in tune as you move up the fretboard. Incorrect intonation results in notes being sharp or flat as you play higher on the neck.
- Relief: This describes the slight curvature of the neck. A perfectly straight neck is ideal, but some degree of bow or backbend is common and needs to be adjusted for optimal playability.
Adjusting Neck Relief
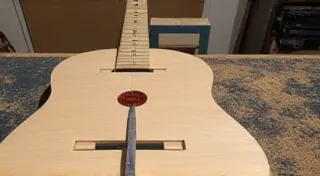
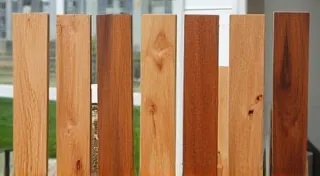
Neck relief is adjusted using the truss rod, a metal rod embedded within the neck. Most guitars have an adjustable truss rod accessible through a slot in the headstock. The choice of wood used for the neck is obviously critical to the overall feel and stability of the instrument, and understanding choosing the right wood for your first guitar can have a long-term impact on setup needs. (Always consult your guitar's manual for specific instructions, as truss rod adjustment can be delicate. Incorrect adjustment can damage the neck.)
Typically, you’re looking for a very slight relief—enough that the string doesn't buzz when pressed down on the first fret, but the gap between the bottom of the string and the top of the 8th-12th fret (approximately) is minimal, around the thickness of a business card. Turning the truss rod clockwise will increase relief (bow the neck forward), and counterclockwise will decrease relief (straighten or backbend the neck).

Setting the Action
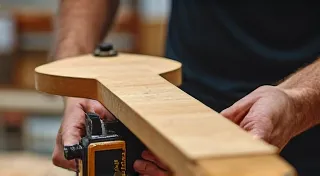
Once you’ve adjusted the neck relief, you can fine-tune the action. This primarily involves adjusting the bridge height. Most electric guitar bridges have adjustable thumbwheels or screws for each string, allowing you to raise or lower individual strings. Careful consideration during the building phase, such as when cutting a guitar headstock, can contribute to the overall symmetry and balance of the instrument, impacting setup and playability.
A good starting point for action height is typically around 2mm (approximately 5/64 inch) at the 12th fret. Use a feeler gauge to accurately measure the string height. Adjust the bridge saddles until the action is correct. Remember to check action for all strings and make adjustments as needed. The selection of tonewoods, and their impact on the instrument's resonance, all play a part in the overall feel and setup required.
Setting the Intonation
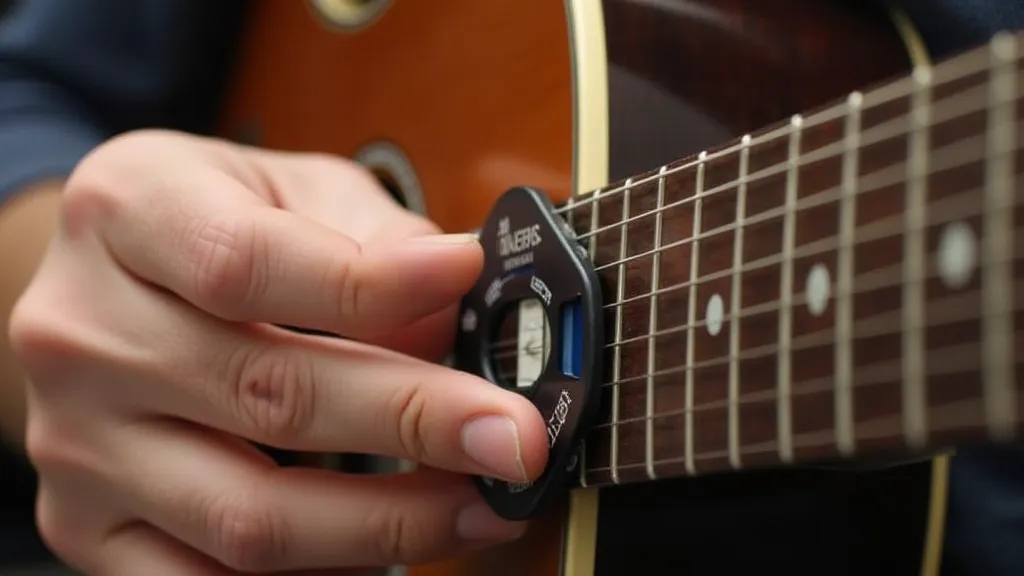
Intonation is the final piece of the puzzle. After adjusting relief and action, check the intonation at the 12th fret. Fret the string at the 12th fret and compare the pitch to the note produced by the harmonic at the same fret. If the fretted note is sharp, lengthen the string by moving the bridge saddle back. If it’s flat, shorten the string by moving the saddle forward.
Small adjustments to the saddle position are all that’s needed. Repeat the process for each string until the intonation is correct. The inherent characteristics of different woods, and how they respond to tension and humidity, all contribute to the intonation challenges you might face. The “wood’s memory,” as it's sometimes called, is a constant factor to consider throughout the building and setup process.
Troubleshooting Common Issues
Setting up a guitar isn't always a straightforward process. Here are some common problems and their potential solutions:
- Fret Buzz: This can be caused by insufficient neck relief, too low action, uneven frets, or a warped neck. Start by adjusting the truss rod to increase relief. If that doesn't solve the problem, check the action and consider a fret leveling.
- Difficulty Pressing Strings: This often indicates high action. Lower the action by adjusting the bridge saddles. Also, check the neck relief – too much relief can make the strings feel stiff.
- Out-of-Tune Notes Up the Neck: This is a classic sign of intonation problems. Carefully adjust the bridge saddles to correct the intonation.
- Inconsistent Tone Across Strings: This can be due to uneven action or intonation. Ensure that all strings are set up consistently.
Advanced Techniques and Considerations
Once you’re comfortable with the basics, you can explore more advanced setup techniques:
- Fret Leveling: Uneven frets can cause buzzing and intonation problems. Fret leveling involves filing the tops of the frets to create a perfectly flat surface.
- Nut Adjustment: The nut is the point where the strings pass from the headstock to the fretboard. If the nut slots are too high or too low, it can affect the action and intonation.
- Bridge Optimization: Some bridges offer more advanced adjustment options, such as individual string intonation and adjustable saddle angles.
Final Thoughts
Setting up a guitar takes patience and practice. These are just the basics, and there are more advanced techniques to explore. Don't be afraid to experiment, but always proceed carefully and consult resources if you’re unsure. A well-set-up guitar is a joy to play! Remember that the entire process, from selecting the right wood to the final setup adjustments, contributes to the overall quality and playability of your instrument. The subtleties of wood selection and construction truly make a difference in the final result. Enjoy the journey of building and setting up your own guitar!