Fret Installation: A Beginner's Guide
Installing frets can seem daunting for the beginner guitar builder, but with careful planning and execution, it’s a perfectly achievable task. This guide breaks down the process, focusing on techniques suitable for those new to guitar building. Accuracy is key here, so let's dive in!
Understanding the Process
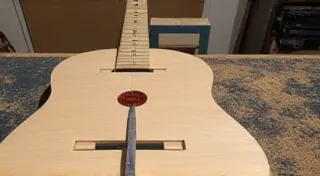
Fret installation isn't just about hammering metal into wood. It’s a sequence of precise steps. First, you need your neck prepared. This means the fingerboard is properly slotted to the correct depth and width for the frets. Then, you carefully position the frets and secure them. Finally, you clean up the ends and level the fret tops.
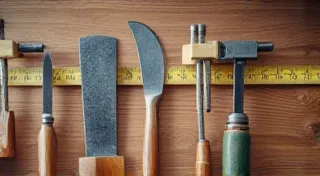
Tools You’ll Need
- Fret Wire: Choose a common size, like 2.2mm or 2.4mm.
- Fret Slotting Jig (Optional but Recommended): This ensures accuracy and prevents shifting during installation.
- Fret Hammer: A specialized hammer with a rounded head.
- Fret Saw or End-Cutting Pliers: For trimming fret ends.
- Fret Nippers: To cut fret wire to length.
- Fret Beveling File: To create a comfortable edge on the fret.
- Sandpaper (Various Grits): For leveling and polishing.
- Fret Rocker (Optional): To check fret level.

Step-by-Step Installation
- Prepare the Fret Wire: Measure and cut each piece of fret wire slightly longer than the fingerboard width. This extra length allows for trimming and adjustments.
- Position the Fret: Carefully place the fret wire into a fret slot. A fret slotting jig can greatly simplify this. If you don't have a jig, ensure the fret is seated evenly and flush with the fingerboard surface.
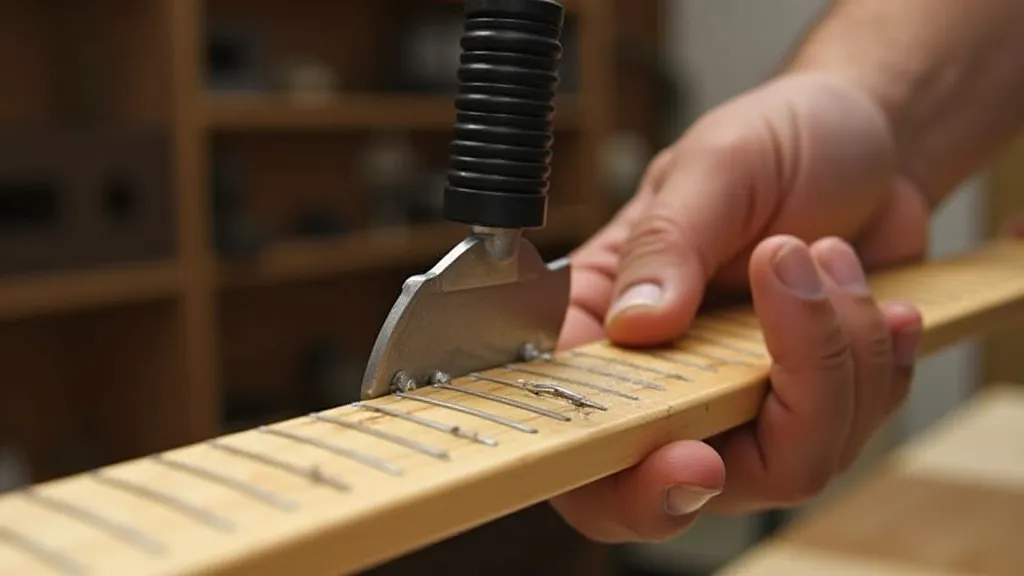
- Tapping the Fret: Using the fret hammer, gently tap the fret wire into place, working from the middle outwards. Avoid hammering directly on the fret wire, as this can damage it. A small block of wood placed between the hammer and fret can act as a buffer.
- Trimming the Ends: Once the fret is fully seated, trim the ends using a fret saw or end-cutting pliers. Leave a small amount of fret protruding beyond the fingerboard edge.
- Beveling the Ends: Use a fret beveling file to round the fret ends, creating a comfortable edge for playing.
Important Considerations
- Accuracy is Paramount: Even small inaccuracies in fret placement can negatively impact playability.
- Don't Rush: This is a process that requires patience and attention to detail.
- Check for Seating: After installing each fret, visually inspect the seating and make any necessary adjustments.
- Fret Leveling: After all frets are installed, leveling is usually necessary. This involves carefully removing high spots to ensure a consistent action. This is a more advanced step and may be best left to a later project or a professional.
Beyond the Basics
This guide provides a foundational understanding of fret installation. There are more advanced techniques, such as using a fret press and dealing with complex fingerboard geometries. As you gain experience, you can explore these more intricate aspects of guitar building.

Conclusion
Installing frets is a critical step in guitar building. While it requires precision, it’s a manageable task for the beginner. With careful planning, the right tools, and a bit of patience, you can successfully install frets and bring your DIY guitar project closer to completion!