Basic Soldering Techniques for Guitar Wiring
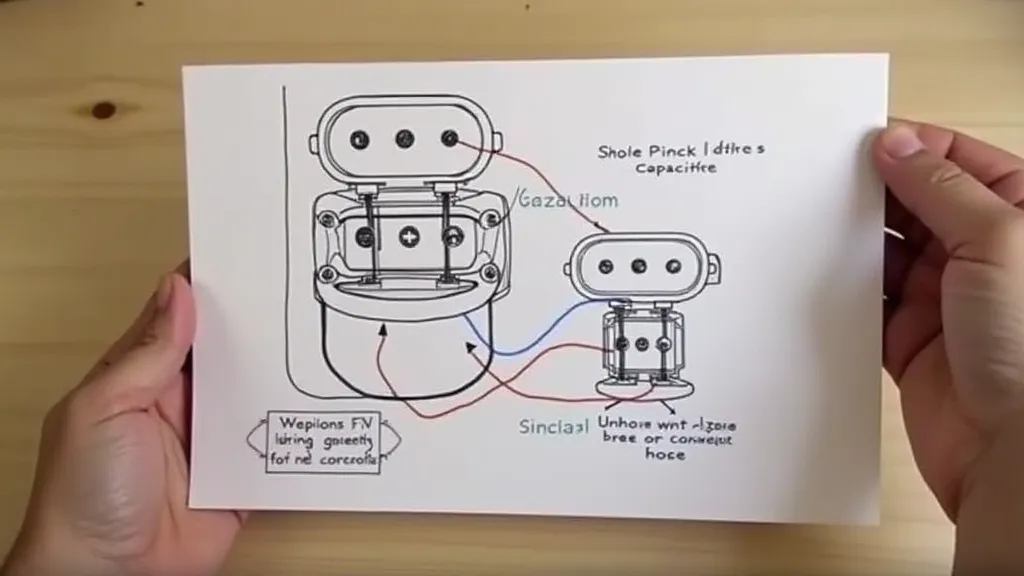
So you're embarking on the exciting journey of building your own electric guitar! You’re likely already familiar with routing, shaping, and finishing, but a crucial and often intimidating step is connecting all the electronics – and that almost always involves soldering. Don't worry, it's a skill you can definitely learn. This article will cover the basics of soldering for guitar wiring, getting you confident enough to tackle your first guitar project.
What You’ll Need
- Soldering Iron: A temperature-controlled iron is ideal (around 25-35 watts is plenty for guitar work).
- Solder: Use rosin-core solder specifically designed for electronics. Avoid acid-core solder!
- Flux: While the solder usually contains rosin flux, having extra can be very helpful.
- Helping Hands/Third Hand Tool: These are invaluable for holding components in place.
- Wire Strippers: For cleanly removing insulation from wires.
- Wire Cutters: For trimming wires to the correct length.
- Sponge/Wet Rag: To clean the tip of your soldering iron.
- Safety Glasses: Essential eye protection.
Getting Started: Preparing Your Materials
- Cleanliness is Key: A clean soldering iron tip transfers heat efficiently. Wipe the tip on a damp sponge before and after each use.
- Tinning the Tip: "Tinning" means coating the soldering iron tip with a thin layer of solder. This helps with heat transfer and prevents oxidation. Heat the iron, touch the solder to the tip (not the workbench!), and wipe away the excess.
- Stripping Wires: Use wire strippers to carefully remove about ¼ inch of insulation from the ends of your wires. Be careful not to nick the wire itself.
- Positioning Components: Use helping hands to hold the wires and components securely in place. This frees up your hands for soldering.
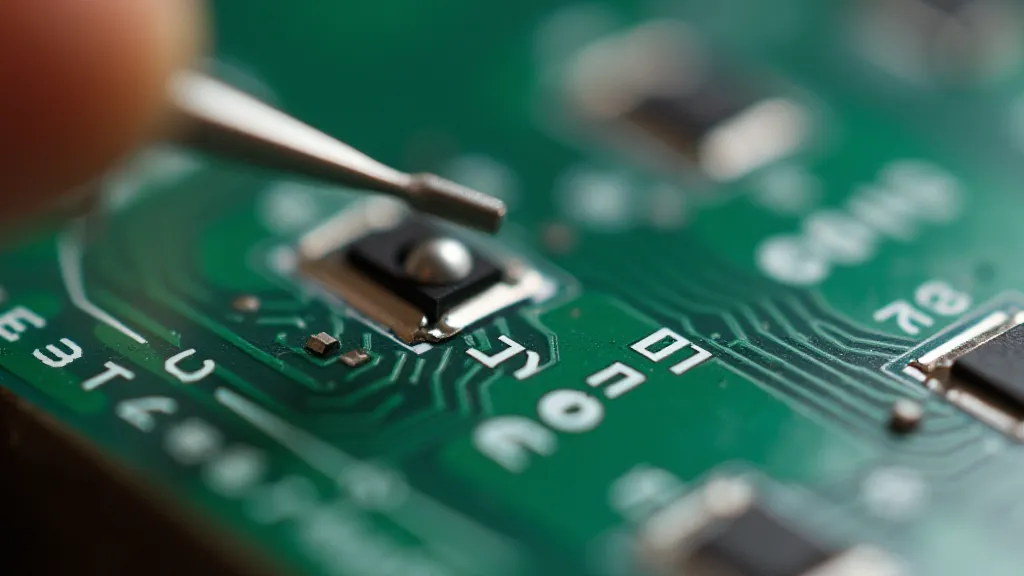
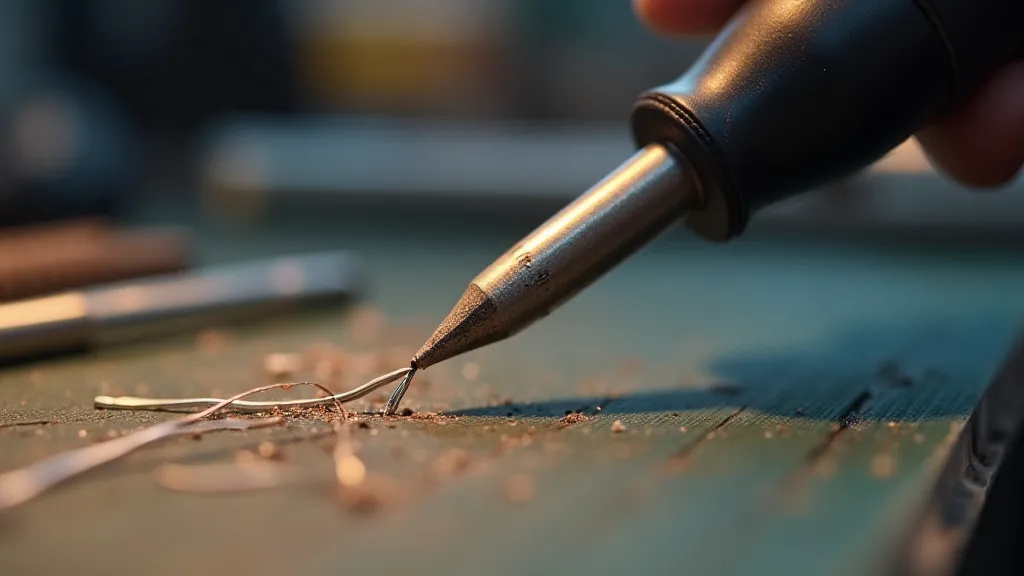
The Soldering Process
- Heat the Joint: Place the soldering iron tip against the wire and component you’re joining. The iron needs to heat both materials simultaneously.
- Apply the Solder: Touch the solder to the heated joint – *not* to the iron. The heated metal should melt the solder.
- Let it Flow: Allow the solder to flow smoothly and evenly around the connection. It should create a shiny, cone-shaped fillet.
- Remove the Iron: Quickly remove the soldering iron. Don't keep it in place, or you risk overheating the components.
- Let it Cool: Allow the connection to cool undisturbed. Moving it while it cools can create a brittle joint.
Common Mistakes & How to Avoid Them
- Cold Solder Joints: If the solder doesn't flow properly, the joint is likely “cold.” This means it didn’t get hot enough. Try increasing the iron’s temperature slightly, or ensuring good contact between the iron, wire, and component.
- Solder Bridges: These happen when solder connects two adjacent pads or traces. Double-check your work carefully and use a small wire brush to clean up any bridges.
- Overheating: Too much heat can damage components. Use a temperature-controlled iron and only apply heat for a short period.
Practice Makes Perfect
Soldering is a skill that improves with practice. Don't be discouraged if your first few attempts aren't perfect. Grab some scrap wire and practice making solid connections before tackling your guitar wiring. Watch videos, read more guides, and most importantly, be patient with yourself. Building a guitar is a rewarding experience, and mastering soldering is a crucial step in that journey.
Beyond the Basics
Once you're comfortable with these basic techniques, you can explore more advanced soldering methods, like using a fume extractor to protect your lungs and learning how to desolder components safely.