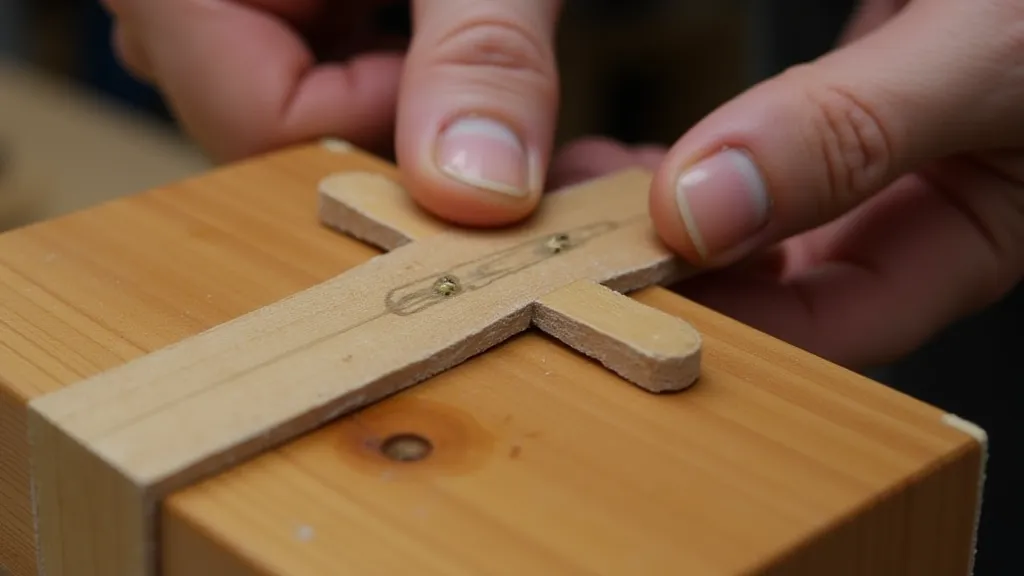
Installing a Truss Rod: A Detailed Walkthrough
One of the most crucial aspects of building an electric guitar is correctly installing the truss rod. This seemingly small piece of metal is responsible for managing the neck’s relief – the slight bow that ensures proper string action and prevents buzzing. This guide walks you through the process, designed for beginner guitar builders.
Understanding the Truss Rod's Role
The truss rod counteracts the tension of the strings. Without it, the string tension would pull the neck into a concave shape, making it difficult to play and potentially causing fret buzz. A properly adjusted truss rod allows you to control the neck’s bow, making your guitar playable and enjoyable.
Materials Needed
- Truss Rod (appropriate length and profile for your neck)
- Router or Chisel
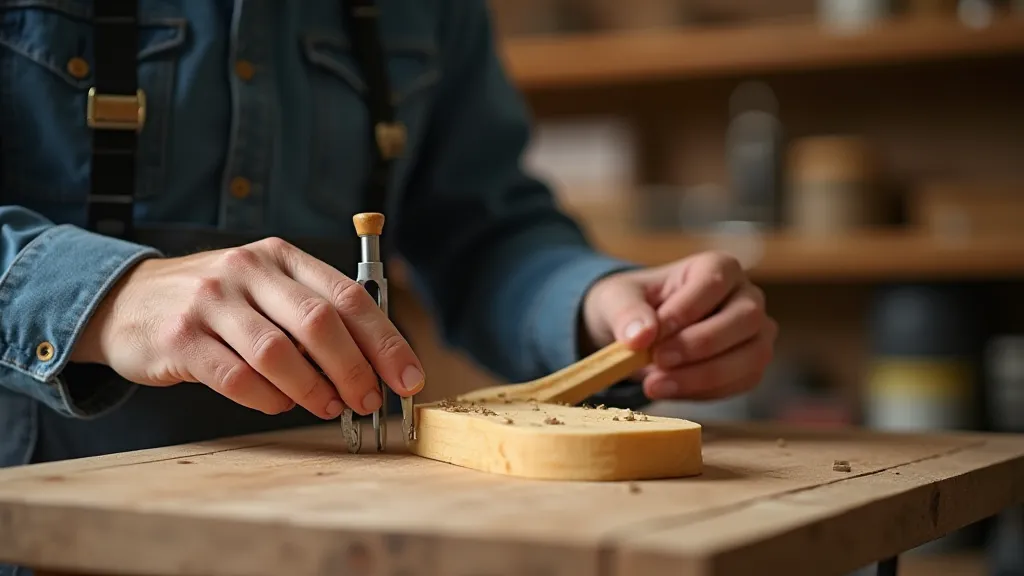
- Measuring Tools (ruler, calipers)
- Wood Shims (thin pieces of wood)
- Glue (wood glue)
- Clamps
- Sandpaper (various grits)
- Safety Glasses
- Dust Mask
Step-by-Step Installation
1. Preparing the Neck Blank
Before you even begin routing or chiseling, ensure your neck blank is properly seasoned and has minimal warping. This step is crucial for a stable neck. Use calipers to accurately measure the neck's thickness and plan your truss rod channel depth accordingly. Typically, the channel will be slightly deeper than the truss rod’s thickness, allowing for a small gap for wood shims.
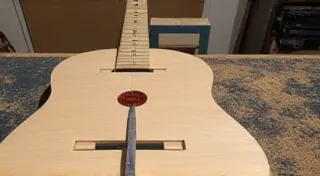
2. Routing/Chiseling the Channel
This is where precision is paramount. Use a router with a straight-cutting bit or a sharp chisel to create the channel for the truss rod. If using a router, take multiple shallow passes to avoid tear-out. If using a chisel, work slowly and deliberately, keeping the chisel sharp. The channel should run the entire length of the neck, centered as much as possible. Aim for clean, straight edges.
3. Dry Fit the Truss Rod
Place the truss rod into the channel to check the fit. It should slide in smoothly, but not be overly loose. The channel should be straight. If there are any high spots, carefully remove them. This dry fit is a crucial diagnostic step.
4. Adding Wood Shims
A small gap between the truss rod and the neck is essential to allow for wood movement and prevent the truss rod from binding. Apply a thin layer of wood glue to the truss rod and around the channel. Insert thin wood shims, about 1/16" thick, into the channel alongside the truss rod. These shims help secure the truss rod and add structural integrity. The number of shims will depend on the channel size; ensure they fit snugly without forcing.
5. Securing the Truss Rod
Once the shims are in place, carefully align the truss rod and press it firmly into the channel. Apply moderate clamping pressure along the length of the neck to ensure good contact between the truss rod, shims, and neck wood. Allow the glue to dry completely according to the glue manufacturer's instructions – typically 24 hours.
6. Leveling and Sanding
After the glue has dried, carefully remove any excess glue squeeze-out. Sand the top of the neck, flush with the surrounding wood, being extremely careful not to damage the truss rod. Use progressively finer grits of sandpaper to achieve a smooth surface. The objective is to seamlessly integrate the truss rod within the neck's profile.

Important Considerations
- Safety First: Always wear safety glasses and a dust mask when routing, chiseling, or sanding.
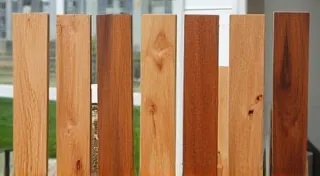
- Wood Type: The type of wood you’re using will influence how easily you can route or chisel the channel.
- Truss Rod Profile: Different truss rods have different profiles. Ensure you choose the correct profile for your neck design.
- Adjustment: After installation, the truss rod will likely need adjustment to achieve the desired neck relief.
Installing a truss rod requires patience and precision, but following these steps will set you on the right track to building a playable and enjoyable electric guitar.