Cutting a Guitar Headstock: A Step-by-Step Guide
The headstock is more than just a place for tuning pegs; it's a crucial element of a guitar's aesthetics and contributes to its overall tone. Cutting it accurately and shaping it correctly is a satisfying – and sometimes daunting – part of the guitar building process. This guide provides detailed instructions on how to cut a guitar headstock from wood, geared towards beginners. Before you even begin, consider the wood itself. Choosing the right wood is paramount to a good-sounding instrument; you can find more about choosing the right wood for your first guitar and the impact it will have.
Materials & Tools You'll Need
- A piece of wood suitable for your headstock (typically maple, mahogany, or similar) – ensure it’s thick enough.
- Your headstock template (downloadable plans are readily available online; we’ve included a basic one for reference).
- Tracing paper.
- Pencil.
- Jigsaw or bandsaw.
- Router (optional, for shaping).
- Files, rasps, and sandpaper (various grits).
- Clamps.
- Safety glasses.
- Dust mask.
Step 1: Transferring the Template
The key to a good-looking headstock is a precise template transfer. If you're using a purchased template, skip to the next step. If you're creating your own, carefully draw the headstock shape onto a piece of sturdy material (like MDF or plywood) – accuracy is vital here! Planning your design can be quite involved, and for those new to guitar building, it can be helpful to learn more about designing your own simple guitar plans. This will get you thinking about scale and dimensions early on.
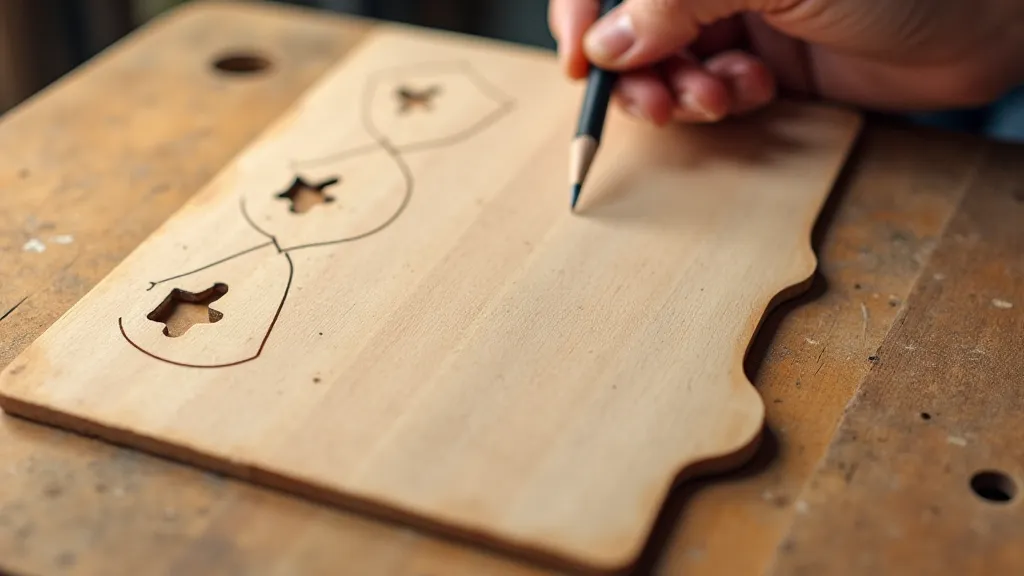
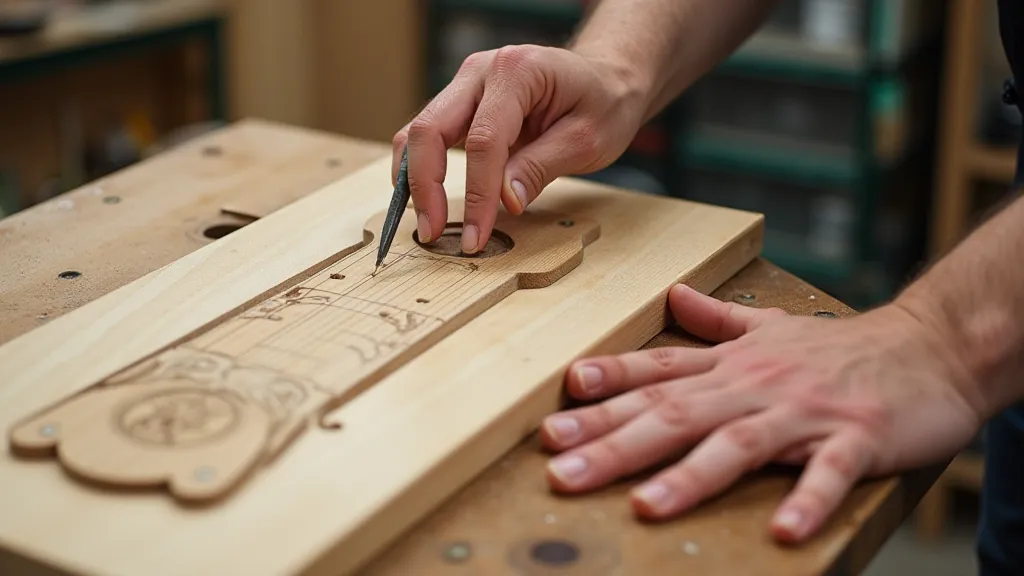
Once you have your template, place it on your headstock blank. Secure it with clamps to prevent movement. Using tracing paper, carefully trace the outline of the template onto the wood. Double-check the tracing to ensure accuracy. Use a pencil to transfer the traced lines directly onto the wood. Ensure the grain direction is oriented correctly; usually, the headstock grain runs vertically.
Step 2: Cutting the Headstock
Now comes the cutting. Using a jigsaw or bandsaw, carefully cut along the traced lines. Take your time and follow the lines as precisely as possible. It’s better to cut slightly outside the line and refine the shape later. Keep the saw blade perpendicular to the wood's surface. A bandsaw generally provides a cleaner cut, but a jigsaw will work with care and a fine-tooth blade. This step requires precision and a steady hand. Remember, getting the neck angle correct is vital for playability; improper cutting here can impact this.
Step 3: Shaping & Refining
Once the basic shape is cut, it's time to refine it. This is where you can start to shape the headstock to achieve the desired contours. Use files, rasps, and sandpaper to remove any excess material and smooth the edges. Pay close attention to the curves and angles. A router can be used for shaping, especially for more complex profiles, but it requires experience and proper safety precautions. Starting with coarse sandpaper (80 grit) and working your way up to finer grits (220 and higher) is recommended. Consider the overall feel and comfort as you shape the headstock. Think about how this will interact with your hand and playing style. The finish applied later will also highlight any imperfections in the shaping process, so strive for smoothness.
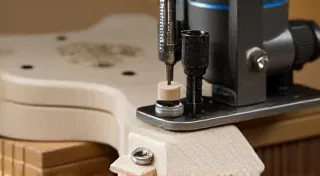
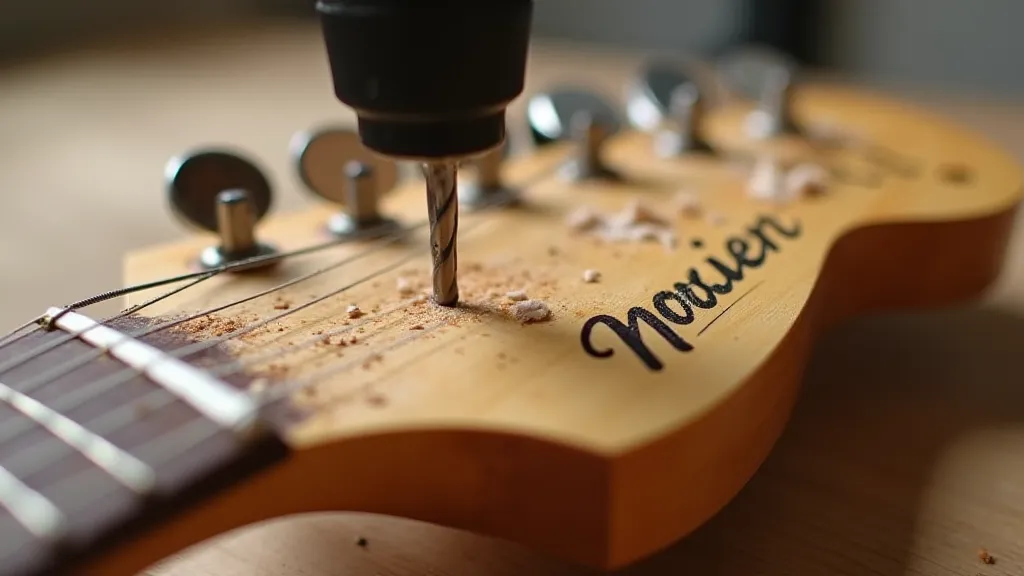
Step 4: Creating the Tuner Holes (Optional - Do This After Shaping!)
This step is best left until the overall shaping is complete. Measure and mark the locations for the tuner holes based on your chosen tuners. Use a Forstner bit or a drill bit slightly larger than the tuner shaft diameter. Drill carefully, ensuring the drill bit is perpendicular to the headstock surface. Clamping the headstock securely is crucial to prevent tear-out. If you encounter tear-out, use a backer board to provide support. The precise placement of these holes is critical for proper tuning stability and avoiding stress on the headstock wood. Accuracy is paramount, and you might find it helpful to double-check your measurements before drilling.
Beyond the Basics: Advanced Considerations for Your Headstock
Cutting and shaping a headstock might seem straightforward, but there’s more to it than meets the eye. Factors such as wood type, grain orientation, and design complexity all impact the final result. Let’s delve into some of these advanced considerations.
Understanding Wood Grain and Its Impact
The direction of the wood grain significantly affects the strength and stability of the headstock. Ideally, the grain should run vertically to resist the pulling force of the strings. However, achieving this can be challenging, especially with certain wood types. If the grain is angled or irregular, it can create stress points that could lead to cracks or breakage. Carefully examine the wood grain before cutting and adjust your design accordingly. You may need to select a different piece of wood or change the headstock shape to accommodate the grain pattern.
Dealing with Complex Headstock Shapes
Some headstock designs are more intricate than others. These complex shapes often require more advanced shaping techniques and specialized tools. Using a router with a template can be a useful way to create precise curves and contours. However, it’s important to use proper safety precautions and have a thorough understanding of the tool before attempting this. Practice on scrap wood first to get a feel for the process.
The Importance of Neck Angle
The neck angle, or the angle at which the neck is attached to the body, is a crucial factor in playability. A properly angled neck ensures that the strings have the correct action and that the guitar is comfortable to play. The headstock design influences the neck angle, so it's important to consider this when planning your build. A steeper headstock angle typically results in a higher action. If you're unsure about the neck angle, it’s best to consult with an experienced guitar builder or luthier.
Finishing Your Headstock
Once the headstock is shaped and the tuner holes are drilled, it’s time to finish it. The finish not only protects the wood but also enhances its beauty. Common finishes include lacquer, polyurethane, and oil finishes. Each finish has its own advantages and disadvantages. Lacquer provides a durable and glossy finish, while oil finishes provide a more natural look and feel. Before applying the finish, it's important to sand the headstock smooth and clean it thoroughly. Multiple thin coats of finish are generally better than one thick coat.
Troubleshooting Common Problems
Even with careful planning and execution, problems can arise during the headstock cutting and shaping process. Here are a few common problems and how to solve them:
- Tear-out: This occurs when the wood fibers split during cutting or sanding. To prevent tear-out, use a sharp blade and a slow cutting speed. If tear-out does occur, use a scraper or fine-grit sandpaper to remove the damaged wood.
- Cracks: These can be caused by stress or moisture changes. To prevent cracks, ensure that the wood is properly seasoned and that the headstock is not subjected to excessive stress.
- Uneven surfaces: These can be caused by inaccurate cutting or sanding. To correct uneven surfaces, use a hand plane or a scraper to level the headstock.
Important Considerations:
- Grain Direction: The wood grain runs vertically on the headstock, contributing to its strength and appearance.
- Safety First: Always wear safety glasses and a dust mask when cutting and shaping wood.
- Patience: Shaping a headstock takes time and attention to detail. Don’t rush the process.
- Practice: If you’re unsure, practice on a scrap piece of wood first.
- Fret Installation: Once the headstock is complete, you're closer to finishing the whole guitar. For more on this stage, check out our guide to fret installation.
With careful planning and execution, you're well on your way to creating a beautiful and functional headstock for your electric guitar!