Neck Angle & Action: Getting Your First Electric Guitar Playable
So, you've poured your time and effort into building your first electric guitar. The wood is shaped, the pickups are wired, and it *looks* fantastic. But now what? If the neck angle is wrong, or the string action is too high, it won't be a joy to play. This article will break down neck angle and string action, explaining what they are and giving you clear steps to get your DIY guitar playing comfortably and in tune. A properly set up guitar is the culmination of all that hard work!
Understanding Neck Angle
The neck angle, simply put, refers to the angle at which the guitar neck sits relative to the body. It’s surprisingly important. A poorly set neck angle can cause buzzing, intonation problems, and an overall unpleasant playing experience. Ideally, the neck should have a slight forward tilt – a few degrees is usually sufficient. This helps the strings clear the frets and ensures proper contact with the pickups. Getting this angle wrong can lead to problems down the line and can complicate other setup adjustments. This is a core consideration when deciding on your construction method - a bolt-on neck allows for some corrective action, while a set-neck construction demands a great deal more planning.

Checking and Adjusting Neck Angle
There are several ways to check the neck angle. The easiest is the 'fret buzz' test. Hold down the strings at the first and last fret. If the strings buzz against the frets in the middle of the neck, the neck is likely too flat (too much backward tilt). Conversely, if the string sits too far from the frets, the neck is likely angled too far forward.
Adjusting the neck angle in a DIY build can be tricky. Ideally, the correct angle should be considered during the neck joint construction. If your neck joint is a bolt-on, you might be able to adjust it by shimming the neck pocket. Shimming involves inserting thin pieces of wood (shims) between the neck and the body. This effectively alters the angle. The thickness and number of shims needed will depend on the specific situation, and careful measurement is crucial. This may necessitate a full disassembly of the guitar and can be a good time to examine how you initially joined the neck and body – a consideration that can often be addressed by carefully crafting the neck pocket in the first place.
If you’ve glued the neck (set-neck construction), correction is significantly more difficult and often requires significant rework. Accurate planning is vital. Some builders even incorporate slight adjustments into the neck joint during the gluing process, though this requires a considerable amount of skill and experience. You might want to explore how other builders tackle the process of installing a truss rod during set-neck construction, as this often relates to managing neck geometry.
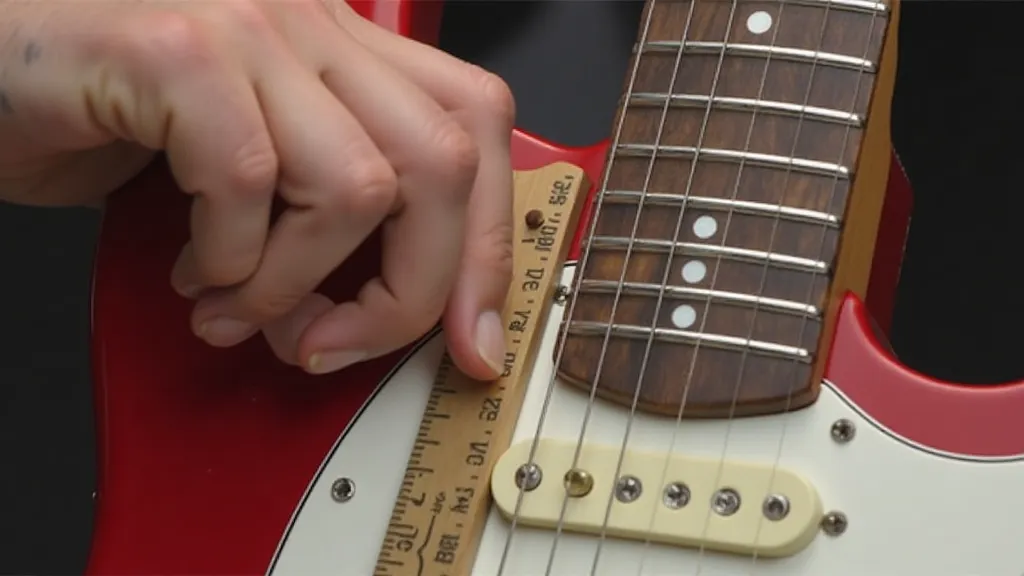
String Action: How High Are Your Strings?
String action refers to the distance between the strings and the frets. Too high, and it’s hard to fret notes and the guitar feels stiff to play. Too low, and you’ll get string buzz. Finding the ‘sweet spot’ is key to comfortable playability. The right action isn't just about feel - it also affects intonation and the overall tone of the instrument. A low action can sometimes accentuate fret buzz, while a high action can dampen the sound.
Adjusting String Action: What You Can Do
Several factors affect string gauge, neck relief (the slight curvature of the neck), and the height of the bridge saddles.
- Bridge Height Adjustment: Most electric guitars have adjustable bridges. Turning the saddle screws will raise or lower the strings. This is the primary way to adjust action. Different bridge systems – Tune-o-matic, Floyd Rose, Strat-style – all have slightly different adjustment methods.
- Neck Relief Adjustment: Many guitars have a truss rod, which allows you to adjust the neck's curvature. *This is a more advanced adjustment and should be approached with caution*. If you're unsure, consult more detailed resources before touching the truss rod. A properly adjusted truss rod will provide the right amount of tension to counteract the pull of the strings.
- Nut Height: The nut is at the headstock, and sets the action at the first fret. It is an important factor but requires specific tools and knowledge to adjust. A badly cut nut can cause buzzing or make the guitar difficult to play in the first few frets.

Beyond the Basics: Body Construction and Headstocks
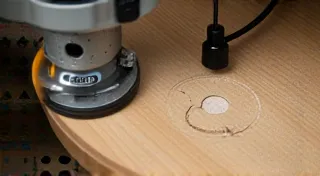
Setting up a guitar is more than just adjusting the action and neck angle – it's the culmination of careful design and construction. While we're focused on the neck and action, the guitar body itself plays a critical role. The shape and dimensions impact resonance and overall comfort. When building a DIY guitar, you’ll often begin by shaping the body. Many builders opt to create a simple Stratocaster style guitar body as a first project due to its relative ease of construction and iconic design. The wood choice affects both the look and the sound. Different wood species have varying densities and tonal characteristics.
The headstock, that distinctive shape at the end of the neck, isn't just for aesthetics. It needs to be strong enough to withstand the tension of the strings and hold the tuning machines securely. Cutting a guitar headstock requires precision and care to avoid cracking or splitting. Many DIYers find the process challenging, often requiring multiple attempts to achieve the desired shape and thickness. A well-crafted headstock is a testament to the builder’s skill and attention to detail, and can be a defining feature of the guitar’s overall appearance.
Putting It All Together: A Holistic Approach
Setting up a guitar is an iterative process. Adjust the bridge height a little at a time, then check the action at various frets. If you’re getting buzz, try a slight adjustment to the truss rod (if you have one) or consider shimming the neck (if the neck angle is the issue). Patience is key. Small adjustments can have a big impact, so it’s crucial to test and re-test after each change.
Building a guitar is a rewarding experience, but a poorly set-up guitar can quickly become frustrating. By understanding and addressing neck angle and string action, you're well on your way to having a playable, enjoyable instrument you built yourself! Don't be afraid to experiment and learn from your mistakes. Every builder encounters challenges along the way, but the satisfaction of playing a guitar you created with your own hands is truly unparalleled.
Further Resources:
- Understanding Feedback Loops: The Anatomy of Silence: Mastering the Feedback Loop in a DIY Electric Guitar
- Advanced Neck Joint Techniques
- Troubleshooting Fret Buzz
- Choosing the Right String Gauge