Creating a Simple Stratocaster Style Guitar Body
This guide walks you through crafting a basic Stratocaster-inspired guitar body – a perfect project for beginner guitar builders. We'll focus on the shaping and contours, providing templates and tips to make the process manageable even with limited experience. While we're aiming for a "Strat-style" body, we’re simplifying the design for ease of construction. Accuracy in measurements and careful shaping are key to a good result, so take your time and double-check everything!
Materials You'll Need
- A piece of wood suitable for a guitar body (Alder, Ash, or Basswood are good choices – approx. 1.75" thick)
- Wood glue
- Screws (for neck and hardware)
- Sandpaper (various grits: 80, 120, 320)
- Finishing supplies (optional – primer, color coat, clear coat)
- Templates (we'll provide a simplified version below)
Tools Required
- Jigsaw or Bandsaw
- Router (optional, for rounding edges and cavities)
- Drill
- Sander (hand or electric)
- Clamps
- Measuring tools (ruler, square, compass)
- Pencil
Step 1: The Template
While a full-scale Stratocaster template can be complex, we'll provide a simplified version that captures the essential shape. You can print this from a CAD file, create one from scratch or use this basic outline as a guideline.

Step 2: Transferring the Template to the Wood
Carefully position the template on your piece of wood. Ensure the grain direction is appropriate (generally, grain runs lengthwise for strength). Trace the outline of the template onto the wood using a pencil. Accuracy here is critical – slight errors now will be magnified later.
Step 3: Cutting the Body Blank
Using a jigsaw or bandsaw, carefully cut out the body blank along the traced line. Stay slightly outside the line – you're aiming for a little extra material to be removed during sanding.
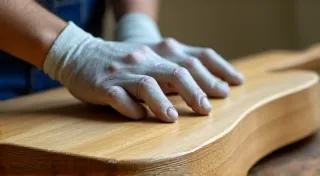
Step 4: Sanding to Shape
This is where the body really starts to take form. Begin with 80-grit sandpaper to remove the excess material from the saw cut. Gradually move to 120-grit, and finally 320-grit, smoothing the surface and refining the shape. Focus on achieving smooth, even curves, particularly around the horns.
Step 5: Contours – The Forearm and Upper Horn
The classic Stratocaster comfort is enhanced by contoured edges. The forearm contour (where your forearm rests while playing) and the upper horn contour are important for ergonomics. To create these, sand away material carefully and gradually, frequently checking the feel in your hand. This takes time and patience – don't rush it! A rasp can also be helpful for initially removing larger amounts of material.
Step 6: Routing (Optional)
If you're routing pickup cavities, control cavities, and the neck pocket, now's the time. This requires careful planning and the use of appropriate routing templates. For beginners, consider leaving these areas as solid wood and simply routing shallow channels for wiring – a less risky approach.
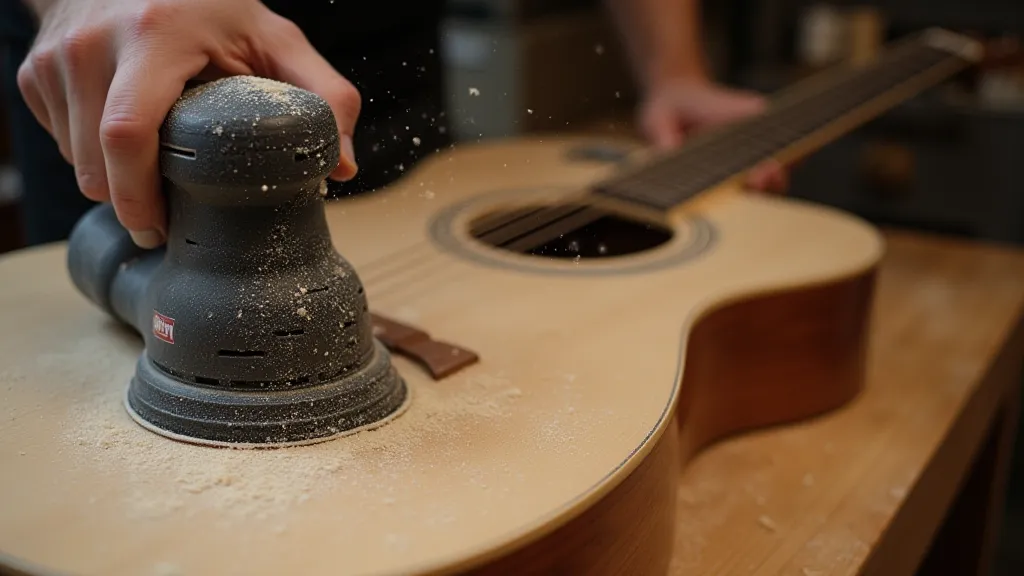
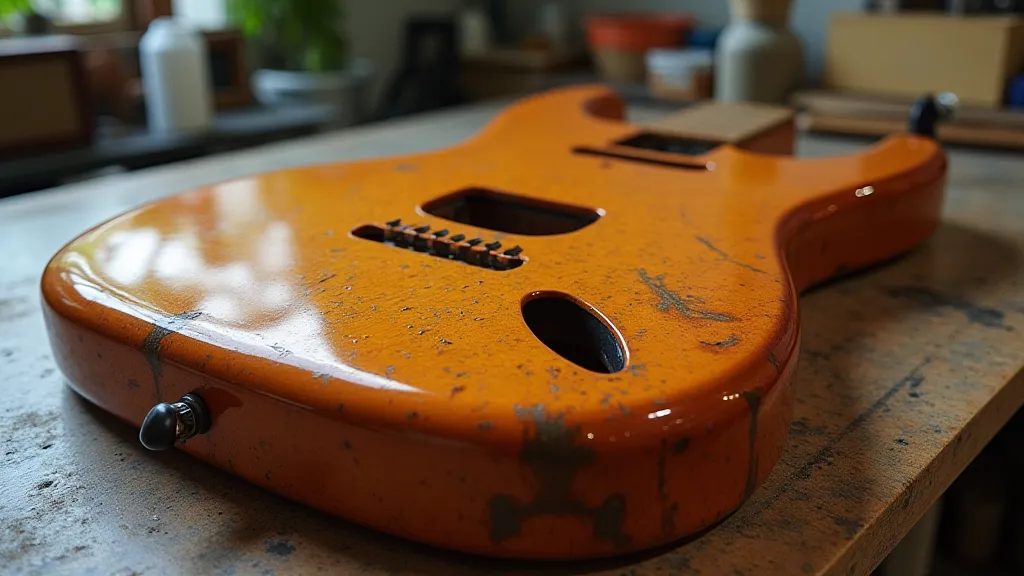
Step 7: Final Sanding and Finishing
Give the body a final sanding with 320-grit sandpaper. Now you're ready for finishing. Apply primer, color coat, and clear coat according to the manufacturer’s instructions. Light sanding between coats will result in a smoother, more professional finish.
Creating a Stratocaster-style guitar body is a rewarding project that introduces core guitar building skills. Remember to take your time, pay attention to detail, and don't be afraid to experiment. Good luck!