Your First Electric Guitar: A Beginner's Guide to Solid Body Construction
Feeling overwhelmed by guitar building? Don't be! Building your own electric guitar can be an incredibly rewarding experience, even if you’ve never picked up a power tool before. This guide breaks down the fundamentals of building a simple solid-body electric guitar, perfect for complete beginners. We'll cover selecting wood, shaping the body, neck attachment, basic wiring, and finishing. No prior experience needed – just a desire to build your own instrument!
Understanding the Basics: Solid Body Construction
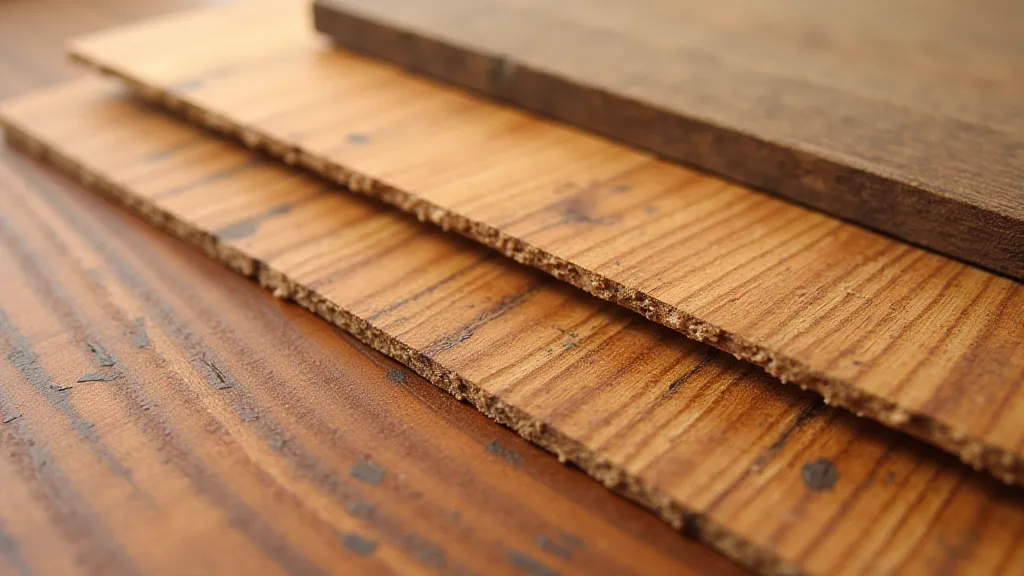
Solid body guitars, unlike acoustic guitars, rely entirely on pickups and electronics to amplify the string vibrations. This means we don’t have to worry about sound holes or bracing, simplifying the build process considerably. The core of the guitar is the body – typically made of wood like Alder, Mahogany, or Ash – which provides the foundation for everything else.
1. Gathering Your Materials: The Essential Parts List
Before you even pick up a saw, let’s compile a parts list. Here's what you'll need. Prices are approximate and will vary based on supplier and quality.
- Body Blank: Alder, Mahogany, or Ash (approx. $50 - $100)
- Neck: Maple or similar hardwood (Can be pre-made, around $75 - $150)
- Fretboard: Rosewood or Maple (If not part of the neck, around $30 - $60)
- Pickups: Humbucker or Single Coil (Set of 3, around $40 - $100)
- Bridge: Hardtail or Tremolo (around $30 - $80)
- Tuners: Set of 6 (around $20 - $50)
- Pots: Volume and Tone (2 pots, around $10 - $20)
- Switch: 3-way or 5-way (around $5 - $15)
- Jack: 1/4" Output Jack (around $5 - $10)
- Wiring: Various gauges (around $10 - $20)
- Hardware: Screws, string retainers, etc. (around $10 - $20)
- Finish: Paint, stain, or clear coat (around $30 - $60)
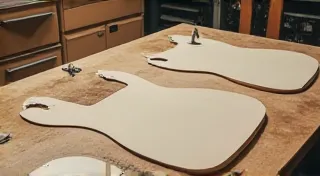
2. Shaping the Body: From Blank to Form
The body is where your design takes shape. You'll need a template (easily found online or create your own) and a jigsaw or bandsaw to cut out the basic shape. Next, routing cavities for the pickups, control pots, and jack require careful measurement and a router. Sanding is crucial – starting with coarse grit and gradually moving to finer grits – to achieve a smooth, even surface.
3. Neck Attachment: The Backbone of Your Guitar
A secure neck joint is critical for playability and stability. A bolt-on neck is the simplest method for beginners. Carefully align the neck and drill pilot holes before securing it with screws. Ensuring the neck sits straight and at the correct angle is vital.
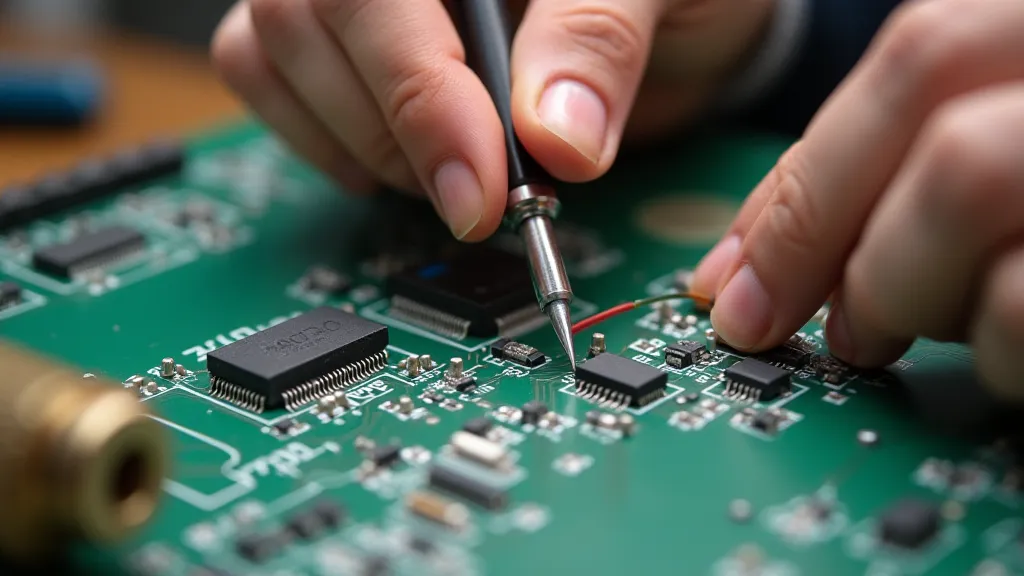
4. Wiring and Electronics: Bringing Your Guitar to Life
This can seem daunting, but following a wiring diagram (plenty available online) will guide you through the process. Connecting the pickups, pots, switch, and jack requires soldering. Double-check all connections before testing your work.
5. Finishing: The Final Touches
Finishing protects the wood and enhances its appearance. You can choose from a variety of options, including paint, stain, or clear coat. Proper sanding between coats is essential for a smooth, professional-looking finish. Patience is key – rushing this step can lead to imperfections.
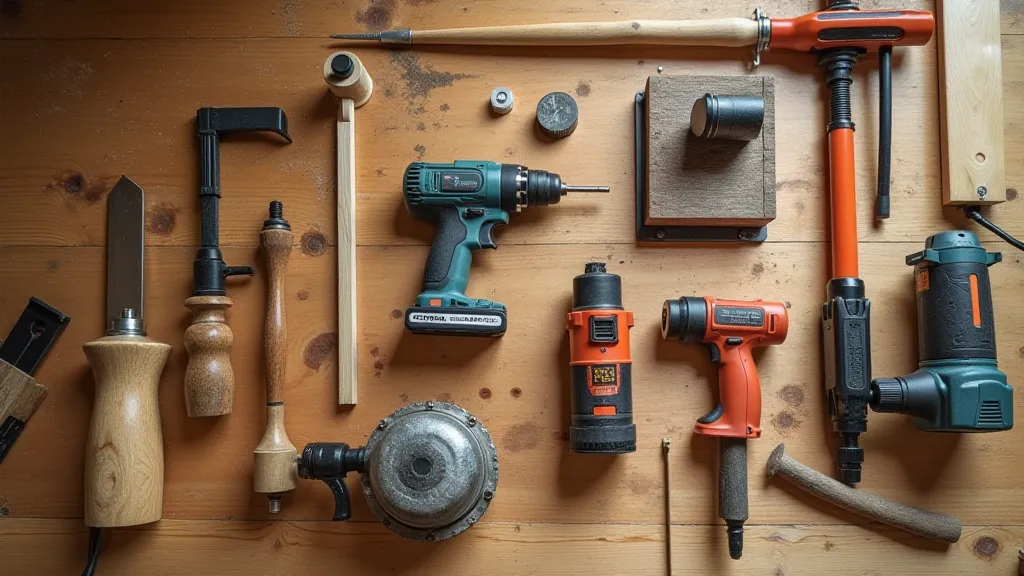
Tools You's Need
While you can improvise, these tools will make the process much easier and safer:
- Jigsaw or Bandsaw
- Router
- Drill
- Sander
- Soldering Iron
- Clamps
- Measuring Tools (Ruler, Calipers)
Conclusion: Your DIY Journey Begins!
Building your own electric guitar is a challenging but incredibly rewarding project. Don't be afraid to make mistakes – they’re part of the learning process. With patience, perseverance, and this guide, you’re well on your way to creating your own unique instrument. Good luck, and happy building!