Your First Guitar Build: A Telecaster Style
Building your own electric guitar can seem daunting, but it's a hugely rewarding project, even for complete beginners. This guide focuses on a simple Telecaster-style build – a classic design known for its straightforward construction and bright, resonant tone. We’re prioritizing affordability and ease of execution, so you can get your first guitar build under your belt without breaking the bank or needing advanced woodworking skills. Let’s get started!
1. Wood Selection: Keeping it Simple and Affordable
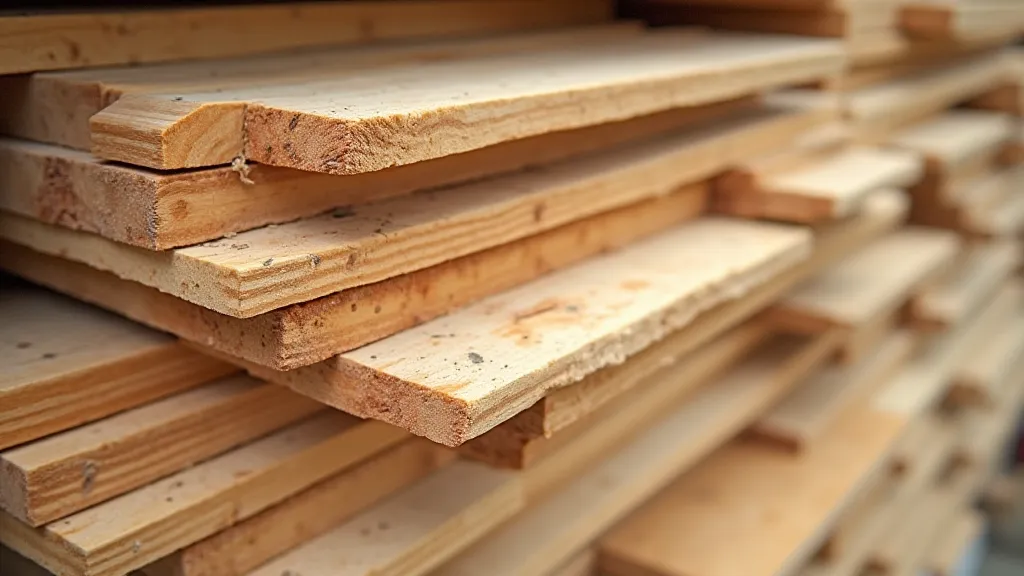
The wood you choose significantly impacts your guitar’s tone and aesthetics. For a first build, we're going for readily available and relatively inexpensive options:
- Body: Alder or Basswood are excellent choices. Alder offers a balanced tone, while Basswood is lighter and provides a brighter sound. Both are easy to work with. Pine is a more economical option, but will require more careful finishing to prevent issues.
- Neck: Maple is the standard for guitar necks due to its stability and bright tone.
- Fretboard: Rosewood or Maple are common choices. Maple provides a brighter tone compared to Rosewood.
You can find suitable lumber at most woodworking supply stores or even some hardware stores. Aim for wood that is kiln-dried to minimize warping and cracking. Dimensioned lumber (already cut to standard sizes) makes the initial stages simpler.
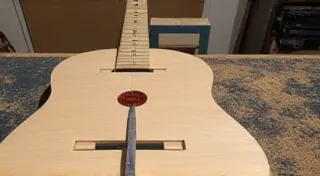
2. Body Shaping: Achieving the Telecaster Silhouette
The Telecaster body has a distinctive shape. There are readily available templates online – search for "Telecaster body template PDF" – which will be your best friend here. Print the template, glue it to a piece of thin plywood, and use it to trace the shape onto your body blank.
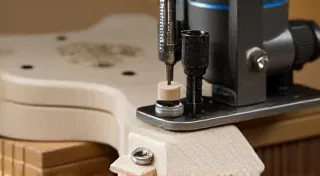
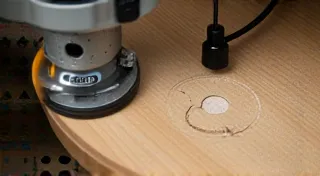
Use a jigsaw to roughly cut out the body shape. Then, switch to a router (with a flush-trim bit) guided by the template to create a precise and clean edge. Take your time and make multiple passes with the router; don’t try to remove too much wood at once.
Remember to route out the pickup cavities, control cavities, and neck pocket according to your template. These are crucial for proper component placement and neck angle.
3. Neck Construction: The Backbone of Your Guitar
Building a neck from scratch is a more advanced project. For your first build, consider purchasing a pre-made guitar neck. It’s a significant time-saver and ensures a straight and playable neck. If you *do* choose to build the neck, there are numerous detailed tutorials online dedicated to that process.
Whether bought or built, ensure the neck has the correct scale length (typically 25.5" for a Telecaster) and nut slot depth. Install the frets carefully, ensuring they are level and properly seated.
4. Wiring and Electronics: Bringing the Guitar to Life
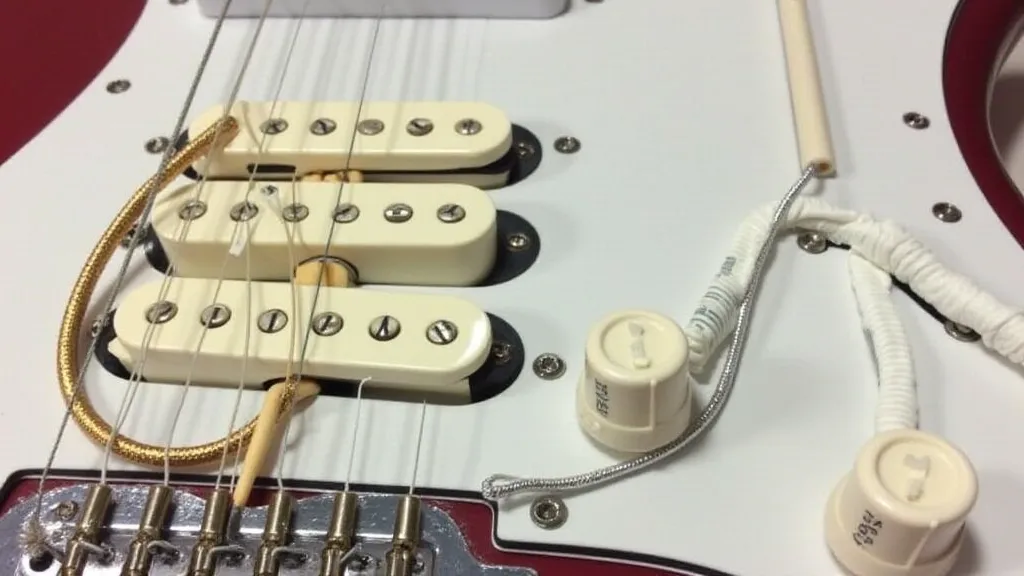
The Telecaster is renowned for its simplicity in electronics. A basic wiring setup typically includes two single-coil pickups, three-way switching, one volume control, and one tone control.
Follow a wiring diagram carefully. Solder all connections neatly and securely. Pay close attention to grounding – poor grounding can cause unwanted noise. A shielded cavity is highly recommended.
5. Finishing: Protecting and Beautifying Your Work
The finish protects the wood and enhances the guitar’s appearance. Several options exist:
- Oil Finish: Easy to apply and forgiving, but offers less protection than other finishes.
- Polyurethane: Durable and glossy, but requires more skill to apply evenly.
- Nitrocellulose Lacquer: The classic finish for vintage guitars, but also the most challenging to apply correctly.
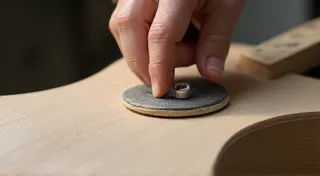
Regardless of the finish you choose, proper sanding is crucial for a smooth and professional-looking result. Apply several thin coats, allowing each coat to dry completely before sanding. A light sanding between coats will remove any imperfections.
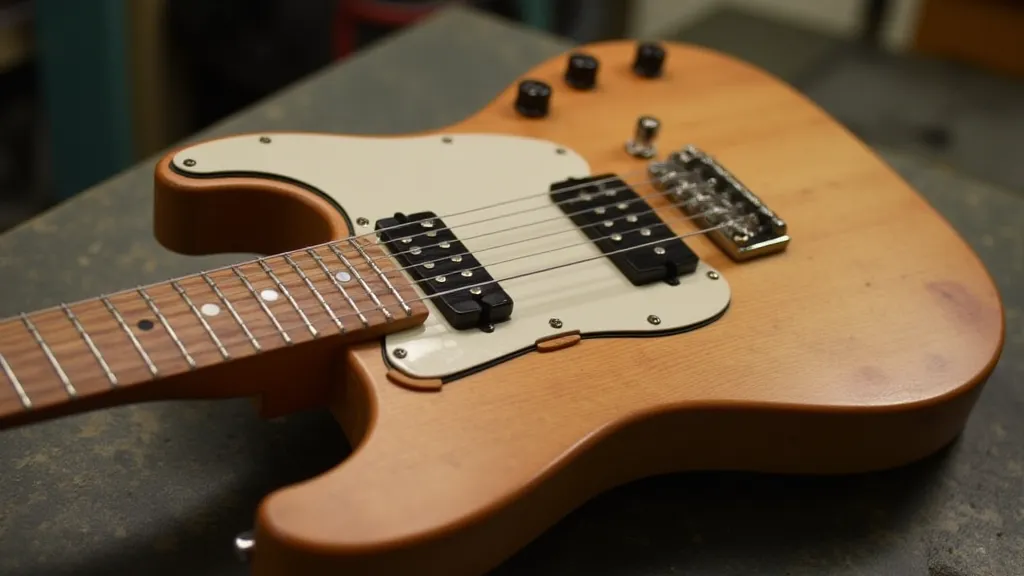
6. Assembly and Setup: The Final Touches
Now it's time to assemble all the components: attach the neck to the body, install the bridge, string the guitar, and adjust the action (string height) and intonation.
Proper setup is essential for playability. Consult online resources for detailed instructions on guitar setup.
Congratulations!
You’ve built your first electric guitar! This is just the beginning of your guitar building journey. Don't be afraid to experiment and try new techniques. Enjoy the process and the satisfaction of playing a guitar you built with your own hands.