Troubleshooting Common Guitar Building Mistakes
Building your own electric guitar is a hugely rewarding experience, but it's rarely a perfectly smooth process. Even experienced luthiers encounter setbacks. This article dives into some of the most common mistakes beginner guitar builders face and, more importantly, how to fix them. Don't be discouraged; every problem is a learning opportunity!
Before you even start construction, ensuring you have the right tools is crucial for a successful build. Having the proper essential tools for beginner guitar builders can significantly reduce the chance of making mistakes and simplify the entire process. It’s an investment that pays off in the quality and enjoyment of your finished guitar.
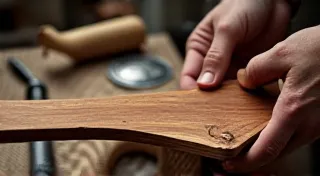
1. The Warped Neck
A warped neck is one of the most disheartening problems. It's usually caused by uneven moisture content in the wood. The wood absorbs moisture from the environment, and if some areas absorb more than others, the neck will twist.
The Problem: The neck isn's straight, making the guitar unplayable. String action will be excessively high, and intonation will be impossible to adjust correctly.
The Solution: This is tricky and requires patience. Often, rehydration is the answer. Place the neck in a sealed container with a damp cloth or sponge for several days, checking it daily. The goal is for the wood to evenly absorb moisture and return to its original shape. Avoid direct contact between the neck and the wet cloth to prevent water stains. Heavier humidity chambers are used in commercial shops. In extreme cases, a truss rod adjustment (if installed) can help, but this should be done cautiously and only after attempting rehydration. Understanding the concept of scale length is also vital for neck stability and proper setup. You can even build a simple scale length calculator to ensure accuracy in your measurements.
Image 1:

2. Buzzing Frets - The Dreaded Buzz
Buzzing frets are a common complaint. It's not always a sign of a poorly built guitar – it can be surprisingly easy to fix.
The Problem: The strings vibrate against the frets, producing an unpleasant buzzing sound. This can be caused by uneven fret heights, improperly seated frets, or a poorly cut nut.
The Solution: Start with the simplest fixes. First, ensure the strings are seated correctly in the nut and bridge saddles. Then, carefully inspect the frets. A fret leveling and crowning process is often required. This involves carefully filing down the tops of the frets to ensure they are all the same height. Afterward, the fret crowns need to be restored. A qualified luthier can perform this work if you’re uncomfortable doing it yourself. The nut height also needs to be considered - a nut that is too high will cause the first few frets to buzz. Getting the nut height correct is just as important as the fret leveling process.
3. Wiring Woes – Electrical Issues
Electrical problems can be frustrating, especially if you're new to electronics. A faulty connection can ruin your tone.
The Problem: No sound, weak sound, or intermittent signal. This could be due to a loose connection, a short circuit, or a faulty component (potentiometer, capacitor, pickup).
The Solution: Start by visually inspecting all wiring connections. Make sure all wires are securely connected to the components and the pots. Use a multimeter to check for continuity and shorts. Carefully trace the signal path, from the pickup to the output jack. Replace any suspect components one at a time, testing after each replacement. It’s extremely useful to take photos as you disconnect each wire to make reconnection easier. Proper wiring requires a careful and methodical approach - don't rush the process!
Image 2:

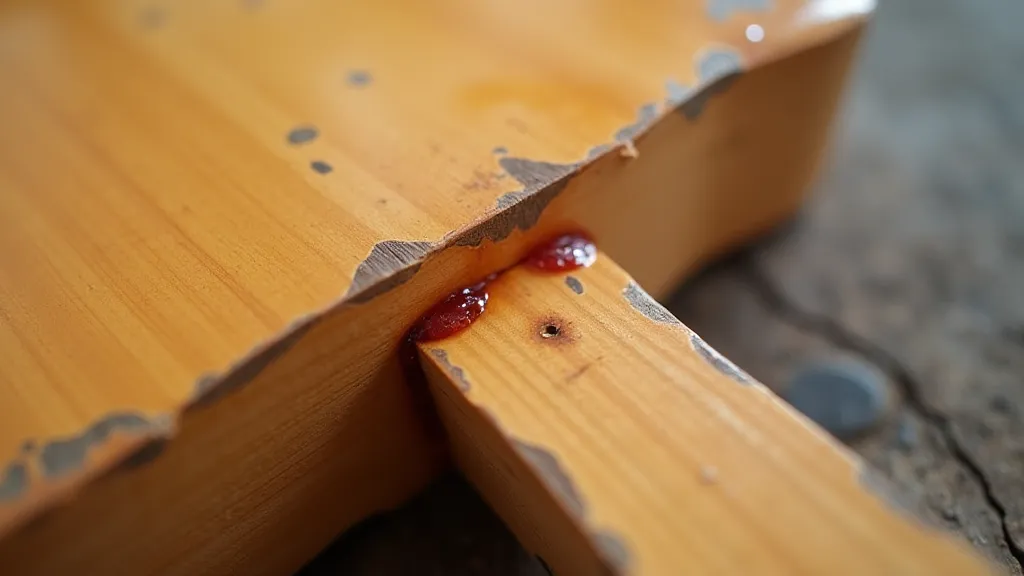
4. Poor Body Joint
If you built your guitar with multiple body pieces, a poorly executed joint can cause all sorts of problems down the line.
The Problem: Cracks appear at the joint, the guitar has a hollow sound, or the joint is unstable.
The Solution: Properly joined guitars need to be clamped very tightly during gluing. A dovetail or scarf joint are common for neck joints. Clamps must be adequate to apply significant pressure during the glue’s curing process. The glue must be of suitable type and sufficient quantity. Achieving a strong and reliable body joint is crucial for the structural integrity of your guitar. Ensuring a tight seal and proper clamping pressure will prevent future issues and maintain the guitar's resonance.
Image 3:
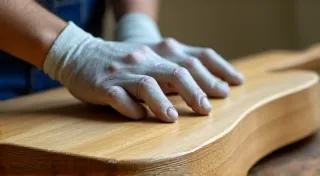
5. Finishing Flaws - More Than Just Aesthetics
The finishing process is often the final step, but it's rife with potential pitfalls. An uneven or flawed finish isn't just about looks; it can affect the guitar’s tone and playability.
The Problem: Orange peel, blushing, runs, or an uneven sheen. These imperfections can detract from the guitar's appearance and even impact its sound.
The Solution: Proper surface preparation is key. Sand the wood progressively with finer grits of sandpaper, ensuring a perfectly smooth surface. Apply thin, even coats of finish, allowing each coat to dry completely before applying the next. Controlling the environment (temperature, humidity) is also critical for a flawless finish. Consider exploring different simple and affordable options for finishing your guitar, from spray finishes to oil-based alternatives.
6. Neck Pocket Issues
The neck pocket, where the neck joins the body, is a critical point. A poorly fitted neck pocket can lead to tuning instability and a compromised feel.
The Problem: The neck doesn’t sit flush with the body, or there’s excessive movement. This can cause tuning problems and a lack of sustain.
The Solution: Precise routing is essential. The neck pocket needs to be the correct depth and angle. If the fit is too loose, shimming the neck can help. If it’s too tight, careful rasping may be required. Test the fit frequently as you make adjustments.
7. Bridge and Saddle Alignment
An improperly aligned bridge and saddle can wreak havoc on your guitar's intonation.
The Problem: The guitar plays sharp or flat, especially higher up the neck.
The Solution: Ensure the bridge is centered over the neck and that the saddle height is correct. Use a reliable intonation tool to make precise adjustments.
Don't Give Up!
Remember that guitar building is a process of learning. Don't be discouraged by mistakes; they are an integral part of the journey. With patience, persistence, and a little troubleshooting, you'll be playing your own handmade guitar in no time!