Guitar Neck Construction: A Step-by-Step Guide
Building a guitar neck is arguably the most crucial and technically demanding part of the DIY electric guitar project. Accuracy here directly impacts playability and intonation. This guide breaks down the process into manageable steps for beginners, focusing on fundamental techniques and avoiding complex machinery. We'll cover truss rod installation, fretwork, shaping, and finishing – all within the realm of achievable DIY skills.
1. Selecting Your Wood & Preparing the Blank
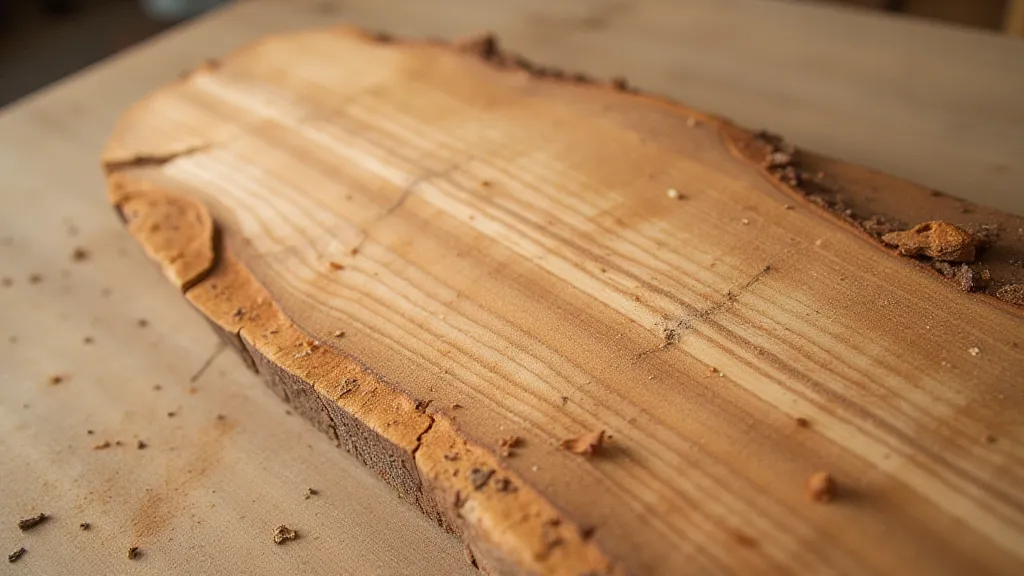
The neck is typically made from maple, mahogany, or a combination. Maple provides stability and brightness, while mahogany offers warmth and a comfortable feel. The blank should be kiln-dried and straight-grained. Dimensions typically range from 2.5-3 inches thick, 7.5-8.5 inches wide, and around 30 inches long. Check for warping or twisting – these issues will be magnified during shaping.
2. Truss Rod Installation
The truss rod is essential for compensating for string tension and adjusting neck relief. There are two main methods: inlaid (running lengthwise within a channel) and pocketed (sitting in a channel on the back of the neck). We’re focusing on the inlaid method, common for beginners.
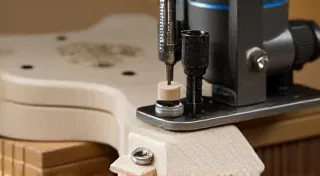
- Routing the Channel: A router with a straight bit is used. Accurate depth is key; too shallow, and the truss rod won’t function; too deep, and you compromise neck strength. Use a router jig to ensure a straight channel.
- Gluing in the Truss Rod: Apply a thin layer of wood glue to the channel and the truss rod.
- Sealing the Channel: Apply thin strips of wood (often the same species as the neck) over the truss rod, gluing them in place to encapsulate it. Ensure these strips are flush with the neck surface.
3. Fretwork: Slotting and Installation
Fret placement is critical for accurate intonation. Use a pre-slotted fretboard (easier for beginners) or, if confident, slot the fretboard yourself using a fret saw and a fret slotting template. Ensure the slots are the correct depth and width for your frets.
- Gluing in the Frets: Apply a thin layer of wood glue to the fretboard slots.
- Pressing the Frets: Use a fret press or carefully clamp the frets in place, ensuring they are perfectly aligned.
- Fret End Dressing: After the glue dries, file down the fret ends and bevel them slightly to avoid sharp edges.
- Fret Leveling, Crowning, and Polishing: This process ensures the frets are perfectly level and rounded for smooth playing. Specialized files and tools are used.
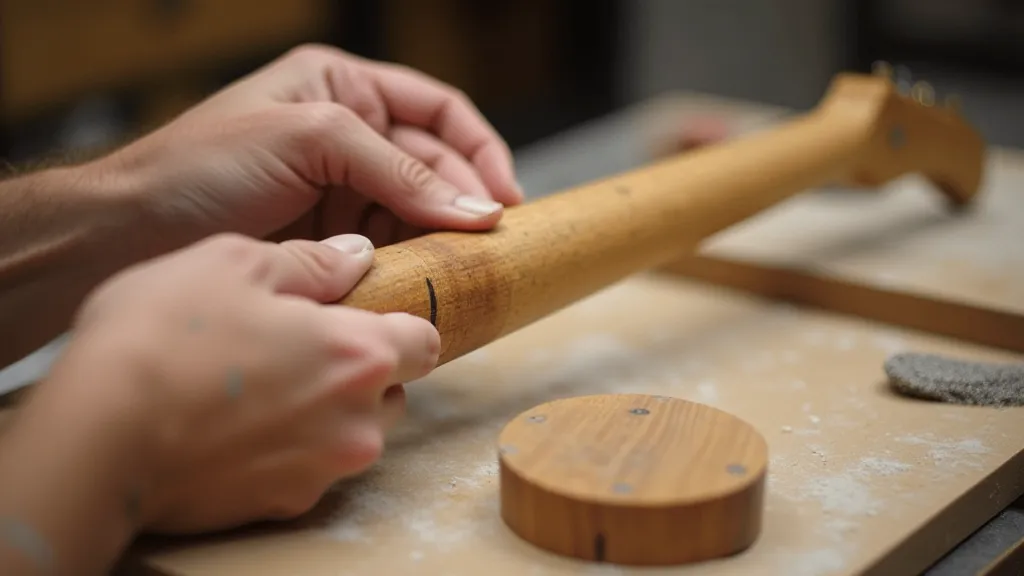
4. Neck Shaping & Contouring
This is where the neck takes its final form. The profile – the shape of the back of the neck – affects playability significantly. A "C" shape is a common choice for beginners.
- Rough Shaping: Use a spokeshave, rasp, and files to remove excess wood and generally define the neck profile.
- Fine Tuning: Use sandpaper of progressively finer grits to refine the shape and eliminate tool marks. Constantly check the profile against a template or by feel.
- Headstock Shaping: Shape the headstock to your desired design using similar techniques.
5. Finishing
The finish protects the wood and enhances its appearance. Common choices include lacquer, oil, and polyurethane.
- Sealing: Apply a wood sealer to prepare the surface for finishing.
- Applying the Finish: Apply thin, even coats of your chosen finish, allowing each coat to dry completely before applying the next.
- Sanding Between Coats: Lightly sand between coats with very fine grit sandpaper (400-600 grit) to remove imperfections.
- Final Polishing: After the final coat, use a polishing compound and a buffing wheel to achieve a high-gloss finish.

Building a guitar neck is a rewarding but demanding project. Patience, accuracy, and a willingness to learn from mistakes are your greatest assets. By following these steps and practicing the techniques, you’re well on your way to crafting a playable and beautiful guitar neck.