Designing Your Own Simple Guitar Plans
So, you're ready to move beyond following existing guitar plans and start designing your own? That's fantastic! It's a rewarding step in your guitar building journey. While advanced design involves complex calculations and CAD software, creating simple, functional guitar plans for beginners is very achievable. This article will introduce you to the basic principles and dimensions needed to get started.
Understanding the Core Components
Before you start sketching, let’s identify the core components of an electric guitar. These are the foundational elements we'll be designing around:
- Body: The main structure of the guitar.
- Neck: The long, slender piece to which the frets are attached.
- Headstock: The top of the neck, holding the tuning machines.
- Fretboard: The surface where the frets are placed, and where you press down the strings.
Basic Dimensions – A Starting Point
While you can certainly deviate from these, they're solid guidelines for a beginner-friendly design. All dimensions are in inches unless otherwise specified.
Body Dimensions
- Scale Length: This is the distance from the nut to the bridge saddles. For a beginner, 25.5” (Fender style) or 24.75” (Gibson style) are common choices. Stick with one for now. Understanding how scale length affects action and playability is crucial, and if you're finding things tricky, you might want to explore resources on neck angle and action.
- Body Length: Roughly 18-20 inches.
- Body Width: Around 12-14 inches.
- Body Thickness: Typically 1.75 inches.
Neck Dimensions
- Neck Length: Will depend on your chosen scale length.
- Neck Width at Nut: 1.6875” (Gibson) or 1.75” (Fender) are typical.
- Neck Thickness: This is a matter of personal preference, but around 0.8 - 1.0 inches at the first fret is a good starting point.
Headstock Dimensions
- Headstock Height: Around 2.5 - 3.5 inches.
- Headstock Width: Roughly 2-3 inches.
Design Principles – Keeping it Simple
Here are a few key principles to keep in mind when designing your own plans:
- Symmetry: Symmetrical designs are generally easier to build and look balanced.
- Ergonomics: Think about how the guitar will feel in your hands. Consider the contours and overall shape. A comfortable guitar is a joy to play.
- Accessibility: Ensure the controls (volume, tone) are easily accessible and the pickups are positioned correctly for optimal sound.
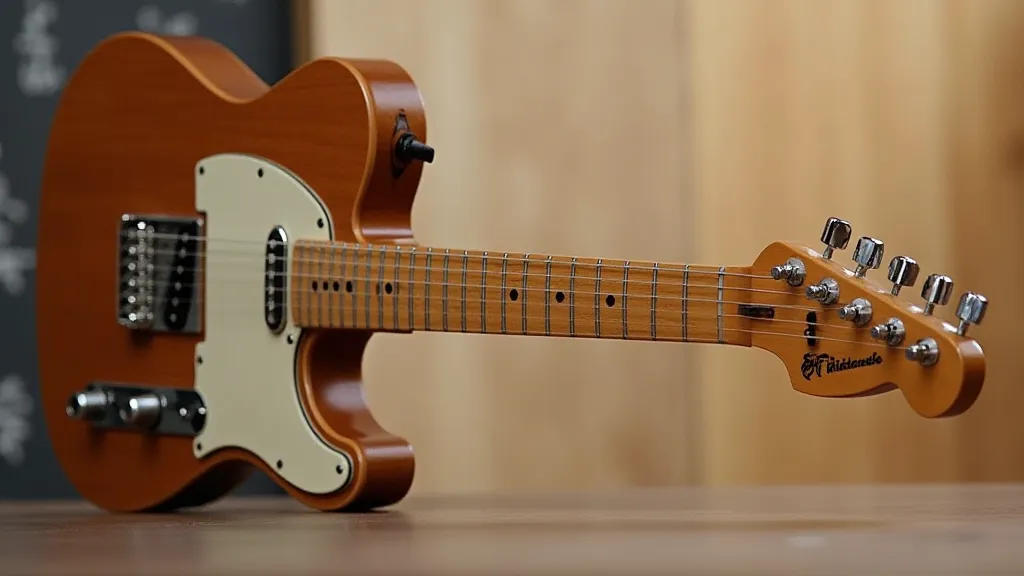
- Simplicity: Start with a simple shape. Complex curves and intricate details can be challenging for beginners. A Telecaster or Stratocaster-style body is a good choice. Selecting the right wood for your project is a huge factor in both tone and workability. Before settling on your design, research choosing your wood for a DIY electric guitar to understand the tonal characteristics and workability of different tonewoods.
From Sketch to Plan
Once you have a design in mind, start with a rough sketch. Don't worry about perfection at this stage. Then, refine the sketch, paying attention to the dimensions discussed earlier. Create a 'full-scale' drawing on a large sheet of paper or using CAD software. This is your plan!

Considerations for Wood Thickness
Remember to account for wood thickness when planning your cuts. Solid wood typically requires a thickness of around 1.75 inches for the body and 0.875 inches for the neck. The tools you use will also impact the project’s ease and final quality. While a full workshop isn’t necessary, having the right equipment significantly helps. For a budget-friendly setup, explore essential guitar tools before diving in. A well-equipped workshop can make the whole process considerably more enjoyable and precise, reducing potential errors and improving the overall quality of your build.
Beyond just the wood thickness, the process of guitar building requires a degree of precision that can be daunting for a beginner. Even seemingly simple tasks like cutting the neck blank to the right dimensions, accurately drilling holes for hardware, and shaping the body contours can present unique challenges. Using templates can significantly reduce the chances of making errors and save a lot of time in the long run. It’s worth investigating guitar templates to see if they’re right for your build. They’re an invaluable resource for ensuring accuracy and consistency, especially when you're first starting out.
Delving Deeper: Tone and Design
The impact of your design choices extends far beyond aesthetics and ergonomics. The materials you select, the shape of the body, and even the placement of the pickups can dramatically affect the guitar's tonal characteristics. For example, a thicker body generally results in a more resonant sound, while different wood types have distinct sonic signatures. Mahogany tends to offer a warm, sustained tone, while maple contributes to a brighter, more articulate sound.
Beyond the Basics: Advanced Design Considerations
Once you're comfortable with the fundamentals, you can start exploring more advanced design concepts. This might involve experimenting with unconventional body shapes, incorporating unique pickup configurations, or even designing your own neck profiles. Remember to document your design choices and their intended effects. This will help you learn from your experience and refine your designs in the future. Furthermore, understanding the science behind guitar acoustics, such as how the Fibonacci sequence relates to fretboard geometry for harmonic resonance, can open up entirely new possibilities for innovative designs.
The Iterative Process: Learning Through Building
Designing guitar plans is an iterative process. Don't be afraid to experiment! Start with something basic, learn from your experience, and gradually increase the complexity of your designs. Each project provides valuable insights, and you're bound to make mistakes along the way. Embrace these as learning opportunities. Carefully document your process and note what works well and what doesn't. Over time, you’ll develop a unique style and a deeper understanding of guitar design principles. From choosing the best cut of wood, to carefully planning the ergonomics of the guitar for maximum comfort, every decision contributes to the overall result. And remembering to carefully plan your setup – ensuring the proper neck angle and action – is crucial for achieving optimal playability.